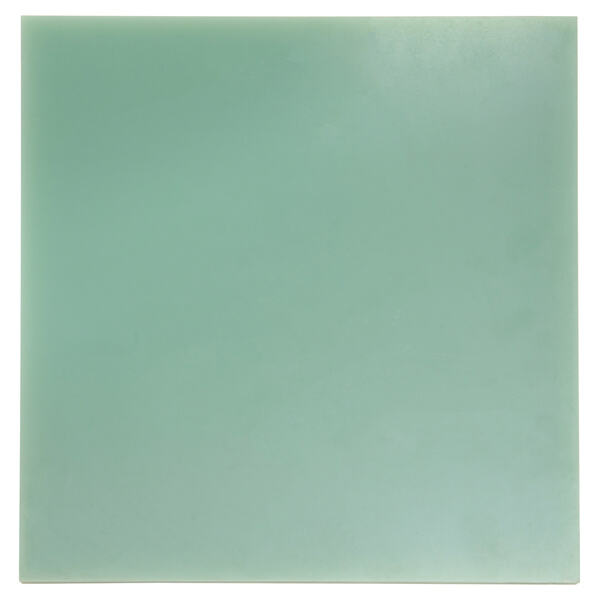
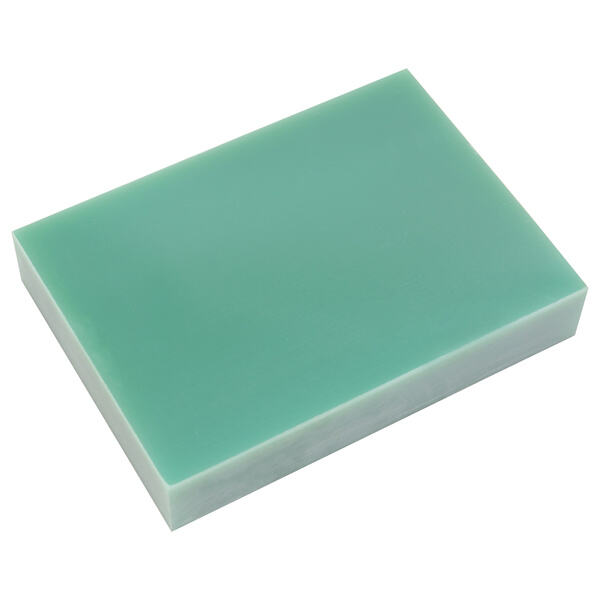
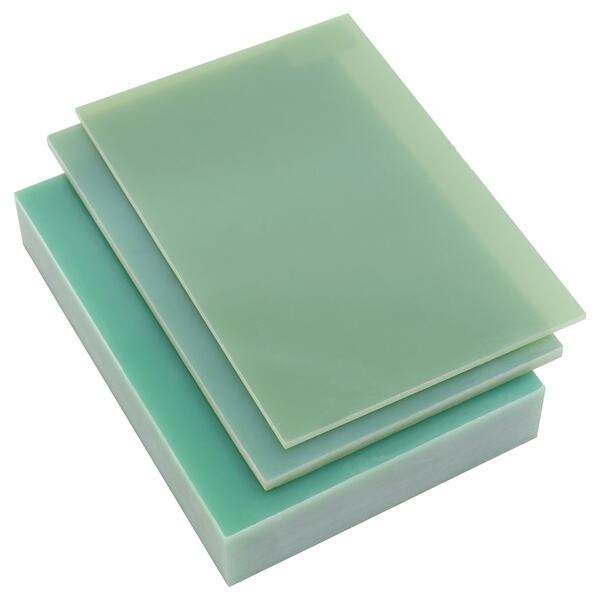
FR4 is a type of material, which we use to produce printed circuit boards (PCBs) too. These PCBs, are important components that can exist in many of the gadgets and gizmos (everywhere from your cell phones to computers; televisions etc.) FR4 owes its identity as FR4 to the fact that it's comprised of fiberglass and epoxy resin. The resultant composite has a very high strength in tandem with extraordinary heat resistance, ideal for various electronic applications.
FR4 is considered a strong material and hence provides excellent long-life durability for your PCBs. Due to heavy use of electronic devices, it is important that their components must work properly and should not susceptible for damage. FR4 is also highly reliable, which means that it can operate for extended periods without failure or breakdown. This is particularly important for electronic devices since they must function properly over the long term in order to provide the best possible user experience.
The last charm of FR4 is its performance to survive high heat without melting or being damaged. During operation, electronic devices often produce heat due to this it is important the PCB are able manage this generated a amount of unit. In hotter environments, many PCBs will fail when exposed to high temperatures because their material cannot support the hot environment.
There are many materials for making PCBs Yet FR4 is still one of the best. Durable, stable and heat resistant — ruling out any concerns when it comes to electronic usage. Although other materials used for PCBs, such as ceramic, are more costly for the same application—FR4 is an affordable and effective option that can fit within many manufacturers' budgets.

Several key steps are required for the construction of PCBs using FR4. Initially, the PCB is designed using software that allows engineers to plan what they want their circuit to do. Also a special type of paper, where the print is ready once the design is set. The purpose of this paper is to transfer the design into FR4 material properly.

Etching: after the transferring of design comes etching. In the next step, etching, all of the copper that wasn't required for our design is removed from above and below each board. It involves a special chemical solution which would gently but selectively remove the excess copper. When etching is complete, the board will be cleaned and examined to see if it was all ok.

After inspection, components included in it are placed on the board and then assembled. This is done by a machine which places components in the required positions on the PCB. In the end, solder all of that to a board. Soldering: in which the components are attached to a board by melting some special metal. This makes sure that all the parts are properly connected and will function appropriately.